We have two different countertop materials in our kitchen. The island is topped with walnut and the perimeter countertops are kashmir white granite. I love the mix and the contrast. We had a similar setup in our previous house with butcher block on the island and absolute black granite along the perimeter. We like having solid stone at the sink and stove. It holds up well to daily abuse, water and food splatters. The wood topped island adds warmth and richness to the black and white kitchen and also makes the island feel inviting to us and guests. We use the island for most meals and it is always the natural gathering spot when we entertain. Our installer suggested sealing the granite right away and then annually from there on out. But with a move, a newborn, two other kiddos and a bunch of other projects on our to-do-list, sealing the granite slipped right through the cracks. Luckily, we made it over a year without anything staining the granite. Thank you granite gods. I made sealing the granite a priority last week.
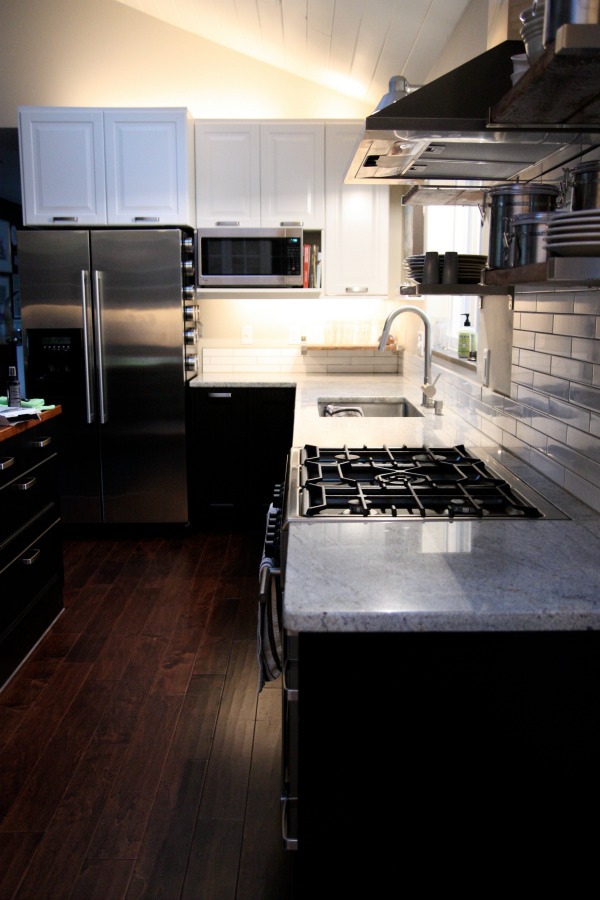
Although it was my first time sealing granite in this house, I am not new to sealing granite. I did it several times in our previous house. I’ve found the best time to do it is on grocery shopping day or when you’re pretty much out of food. The counters need to be left alone for a while after sealing so it helps to seal them on a day when you can’t/won’t be using the kitchen for a ton of food prep. The night before I sealed the counters, I cleared everything off and wiped them down really well with a damp microfiber cloth. It’s really important to remove any food splatters or drips. You don’t want them getting sealed into the stone! Likewise, the granite must be completely dry before sealing. That’s why I wiped down my counters before going to bed then let them dry thoroughly overnight.
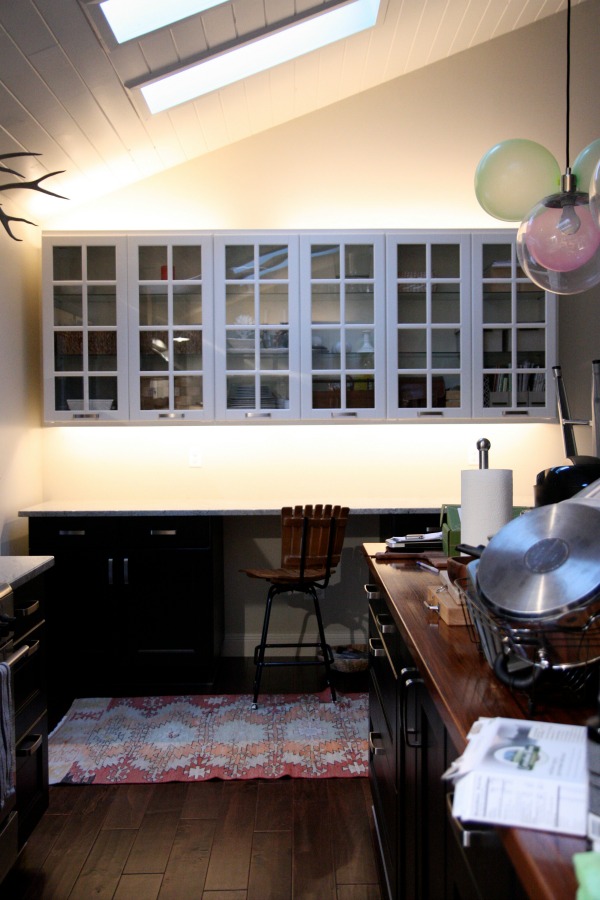
I set my alarm to get up early before anyone else the next morning. All of these photos were taken that morning. {It was barely light outside.} You can see the granite countertops are cleared and free of any debris.
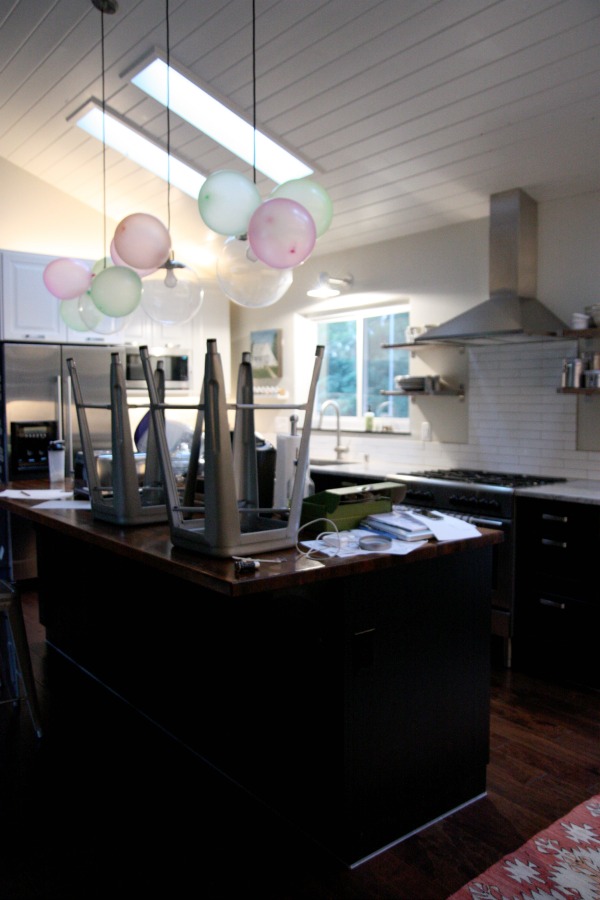
Basically, I threw everything from the perimeter countertops onto the island. Nevermind the balloons. They were leftover from a party and Mabrey LOVED them so I kept them up for a while. Btw, how long is too long to leave party decorations in place once the party is over?
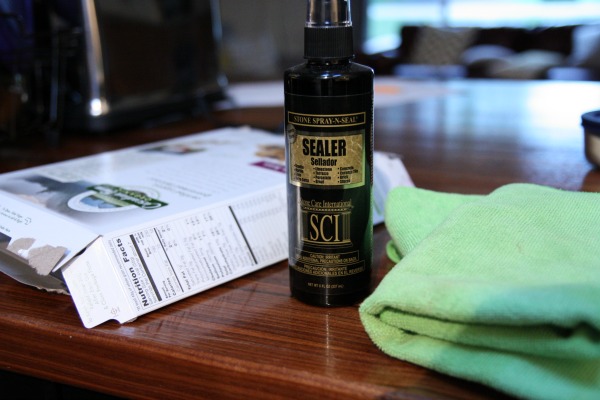
For this project I only used three items: SCI sealer, a flattened cereal box and a microfiber cloth. The sealer does have an odor so I opened the windows and ran the hood fan for adequate ventilation.
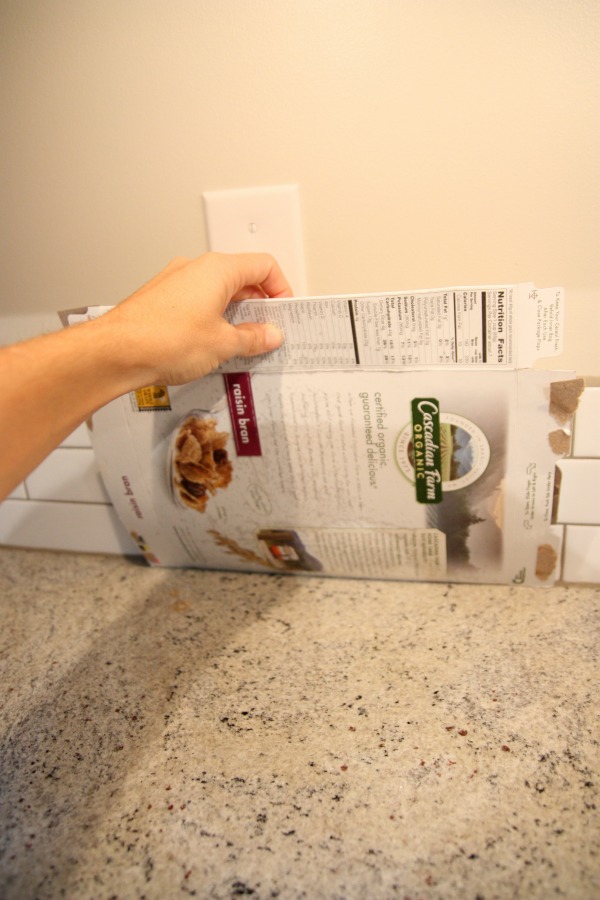
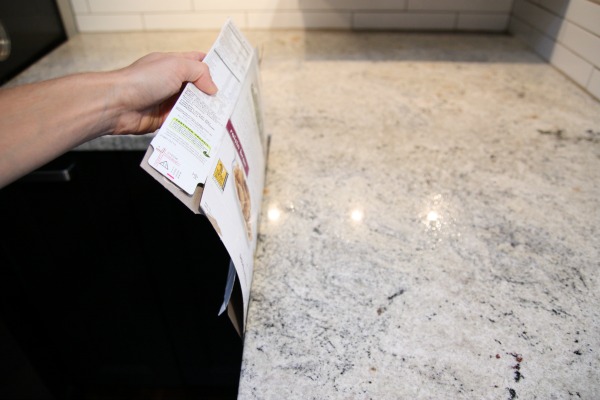
I used the empty cereal box to protect anything I didn’t want/need sealed from overspray. My method was to work in sections. I would start near the wall/backsplash and work my way out to the edge of the countertop. You can use plastic wrap to protect faucets and stovetops but I was feeling confident in my spray skills so I just used the cardboard box.
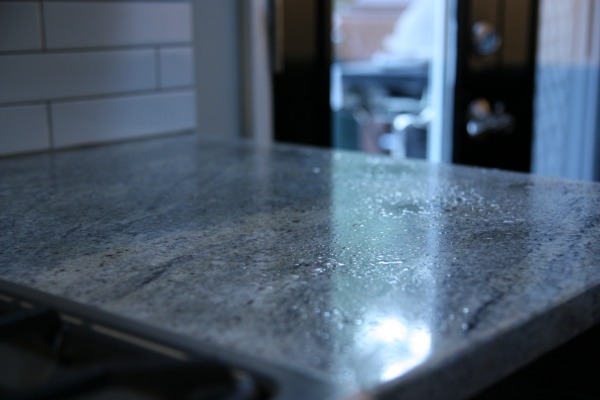
The sealer needs to be shaken well before spraying and should be applied thoroughly but you shouldn’t saturate the surface. Apply one coat, let it sit for 3-5 minutes then spray another coat and let it penetrate the stone for 30 minutes.
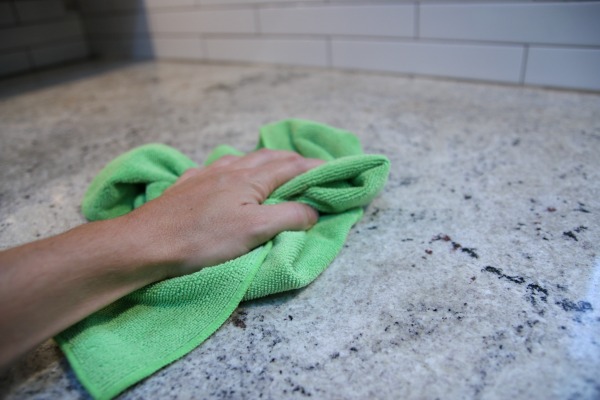
After waiting 30 minutes, I wiped up the excess sealer with a microfiber cloth. Truthfully, there wasn’t that much to wipe up. In my experience with sealing granite, what the pros say is true: the lighter the granite, the more porous it is. The kashmir white soaked the sealer right up while the absolute black in our previous house barely soaked up anything.
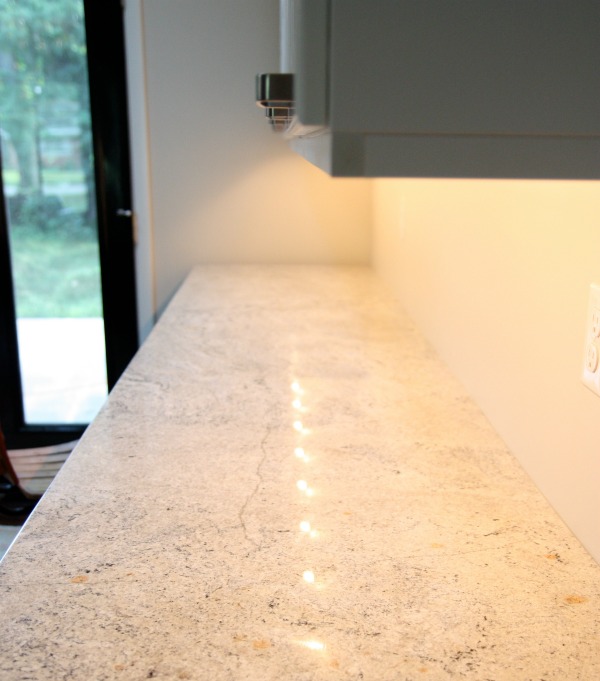
I was left with smooth and sparkling countertops. The sealer says to give the stone 24-48 hours to fully cure. I took the kids out to breakfast {such a treat – we never do that!} and we ate lunch outside that day. I did make dinner at home and wash dishes that evening but I was careful not to splash food and water all over the granite.
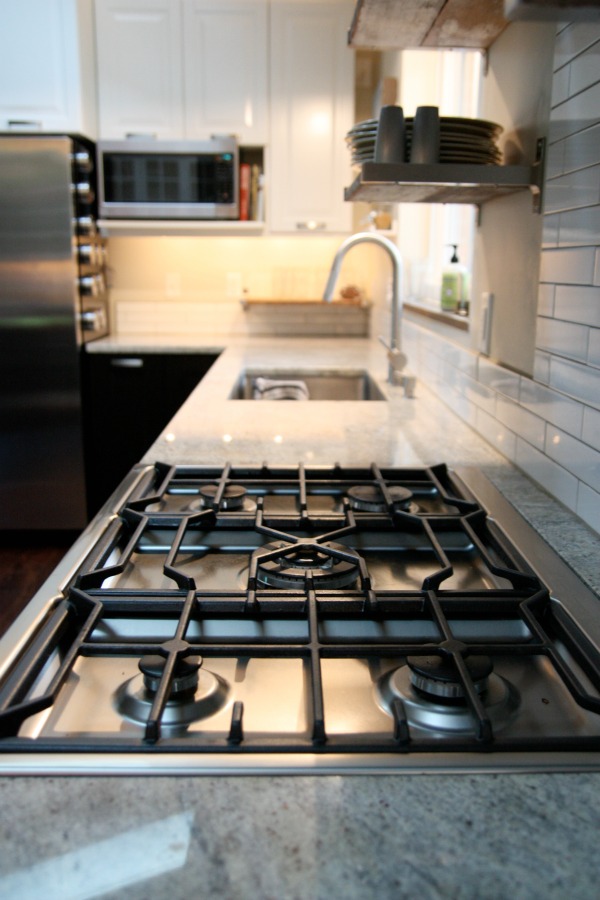
I can tell a difference since *finally* sealing the granite. When wiping up spills, there aren’t dark spots remaining anymore. Before I sealed them, wet spots would leave a dark circle and take a few hours to dry completely. Also, shortly before sealing, the counters were getting a gritty feel to them but now they feel just as smooth as when we had them installed.
I’m not sure why I put this project off for so long. It’s super easy and inexpensive. I had a partial bottle of sealer leftover from our previous house and it was just enough to seal these countertops. Next time I’ll have to buy. A bottle of sealer will run you ~$10 and it should last through several sealings. You can pick it up at a home improvement store.
If you are thinking of/have granite countertops, what have you been told about maintaining them? I’ve heard so many different recommendations on sealing granite! I always listen to our installer in the end. I figure he knows best since he is the one installing it and we’ve used him twice now with no problems.
images: Dana Miller for House*Tweaking
**Let’s hear it for five posts in one week!!!!**
Kitchen ‘afters’ today as promised! But first a little detail about installing the walnut island top that I wasn’t clear on.
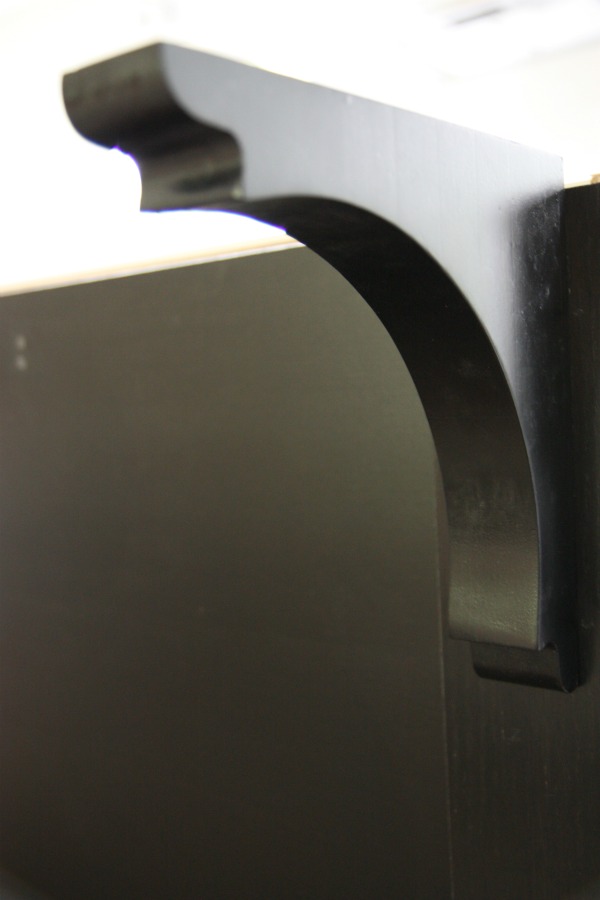
The corbels we used to support the overhang came with two predrilled holes in the back and hardware to ‘hang’ the corbels on a vertical surface. HH used them to install the corbels onto the back of the island’s base cabinets {as seen above}. To secure the corbels even more, HH added two screws.
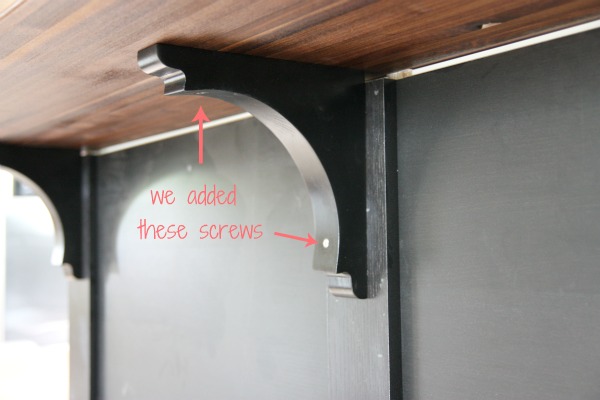
He predrilled the holes for these additional screws. One screw was added to the bottom of each corbel and screwed into the island cabinetry. A second screw was added to the top of each corbel and screwed into the walnut slab. If you’re thinking of using these same corbels but are a little leery of their hanging hardware, you can add more screws for increased stability. Make sense? Sorry I didn’t address that earlier.
Now onto the real reason for today’s post – countertops!
I left off with the walnut slab installation.
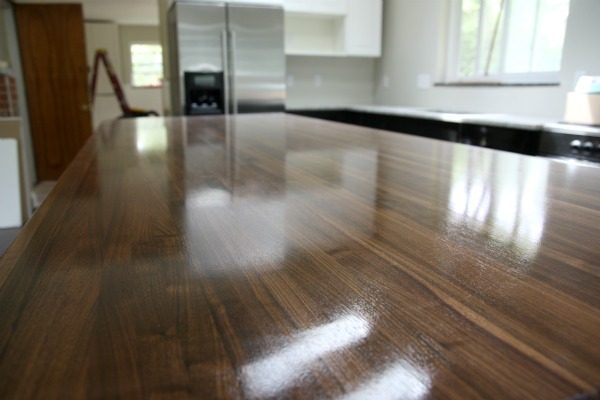
We’re more than pleased with it. In fact, we ate our first dinner – takeout pizza! – at the island last night in an effort to get a few small projects out of the way before the big cleaning spree this weekend. Side note: those small projects weren’t as small as we thought. What’s new?!
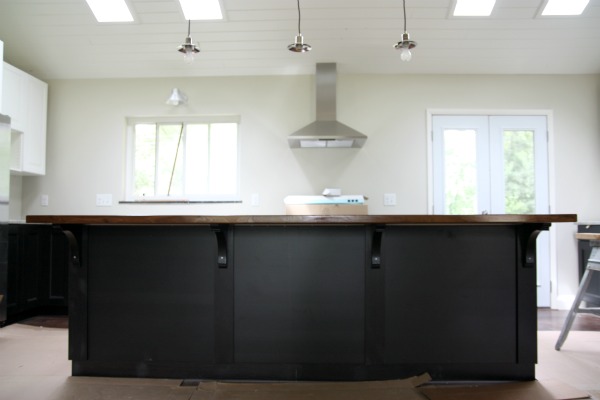
{Don’t mind the globe-less pendants. We plan on adding the glass globes after we get our things moved in. Our thought is that they might get bumped while large, tall items are being carried in so we’re trying to avoid broken glass.}
Eating at the island felt comfortable and I think it’s because we went with a 15″-16″ overhang as opposed to the standard 12″. When deciding on the size of our walnut slab, HH did some googling around for island countertop overhang. Many forums suggested going with a deeper overhang of 15″-18″ if the counter would be used for meals on a regular basis. It seems the added depth allows for more comfortable seating with adequate leg room. We sure didn’t feel cramped eating dinner at our island last night, so we’re glad we went with a deeper overhang.
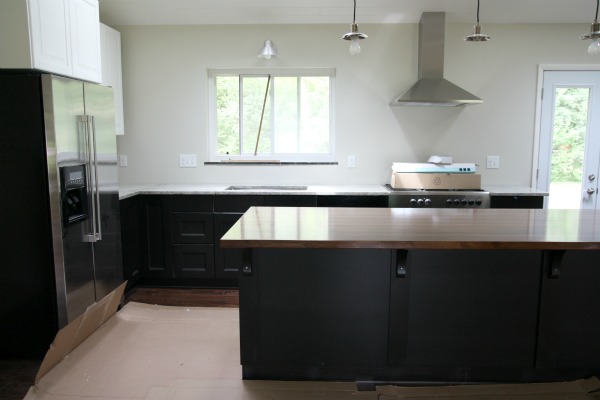
Like I mentioned yesterday, HH finished installing the walnut butcher block on the island late Monday night. The very next morning, granite countertops were installed along the kitchen’s perimeter. Wanna see?
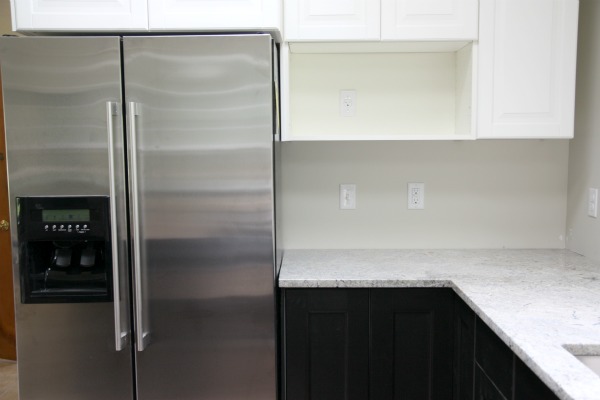
We chose kashmir white granite. We had granite in our previous home’s kitchen and were really happy with it so chose to stick with it for this kitchen too. I knew I wanted something light on top of the black base cabinets for contrast. {That big empty shelf is for the microwave. We finally bought one but we haven’t installed it yet.}
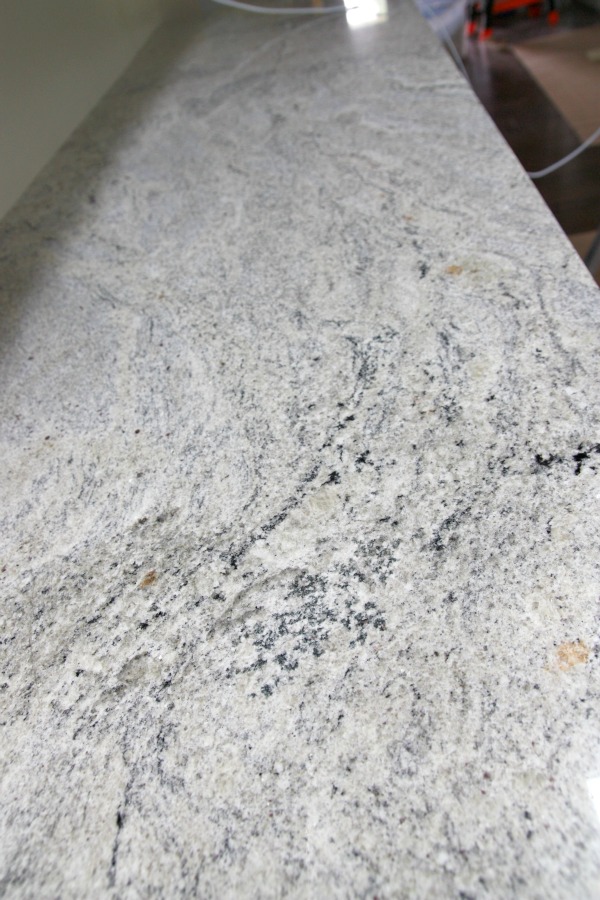
The kashmir white is a great light granite. From a distance, it resembles marble. I love the white, cream, gray and gold striations that run throughout the stone. The natural light streaming in through the skylights makes them seem even brighter.
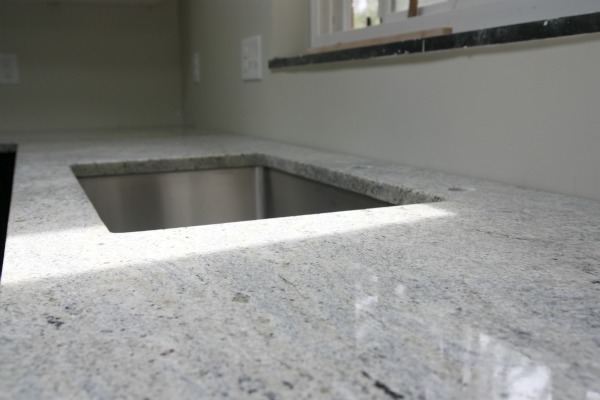
We had Stone Design do the install. {For locals, they are in Fairfield, Ohio near Jungle Jim’s.} They did the installation at our previous house as well and we were happy with their work and prices so it was an easy decision. We like the idea of using small businesses vs. big box stores for larger home improvement projects because many of them will give you a discount for paying cash. Just don’t mention you’re paying cash until after you’ve received a quote.
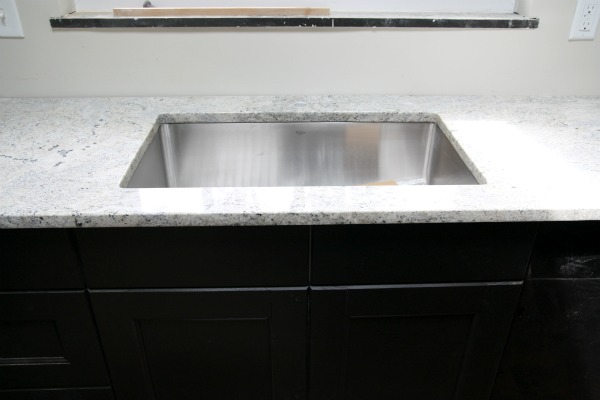
The total cost of the granite install was $2,752 and that includes $250 for the sink cutout and installation. Stone Design was offering a free vanity top with the purchase of any kitchen install but since we didn’t need a vanity top, they happily discounted our project $250. We were also given a discount for paying cash. So, if you do the math…$2,752 – $250 for sink cutout = $2,502 for the granite countertops alone. Our kitchen required 52 sq ft of granite for the perimeter and if you do some more math…$2,502/52 sq ft = $48 per sq ft of granite. In our area, that price for kashmir white is great!
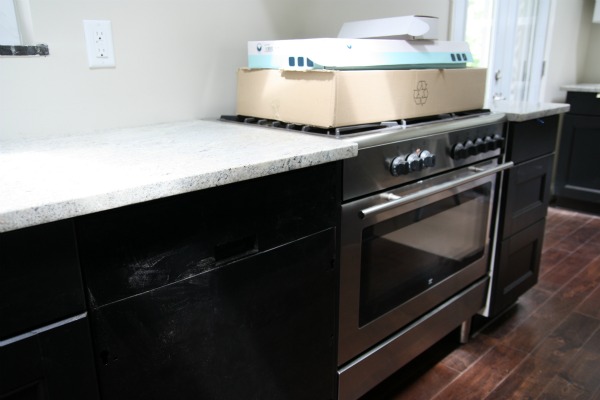
The stove is pushed back here but the installers called me the next day saying they needed to come back and install a 3″ strip of granite behind the stove so that it would sit flush with the cabinets. We hadn’t even noticed until they mentioned it! They were thorough. {I’ll have to snap a few pics of the added strip to show you.}
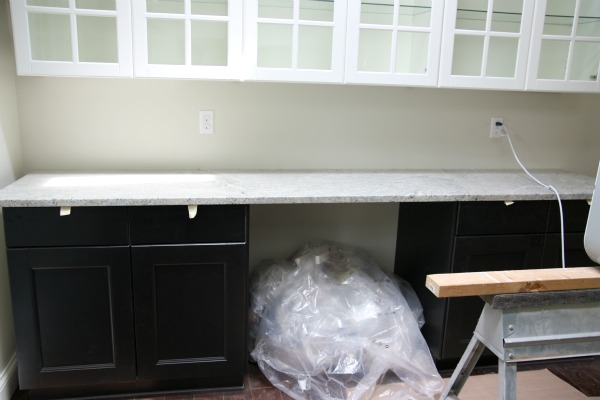
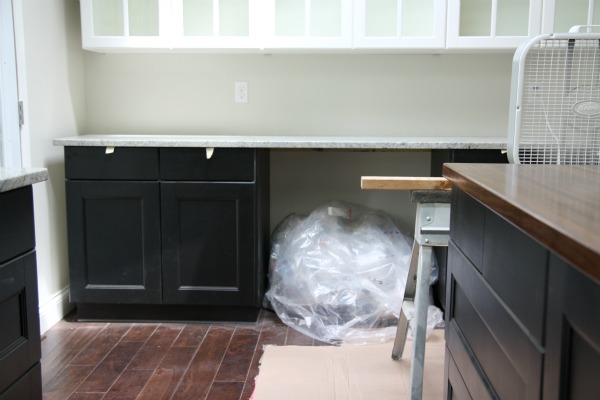
My new desk area!
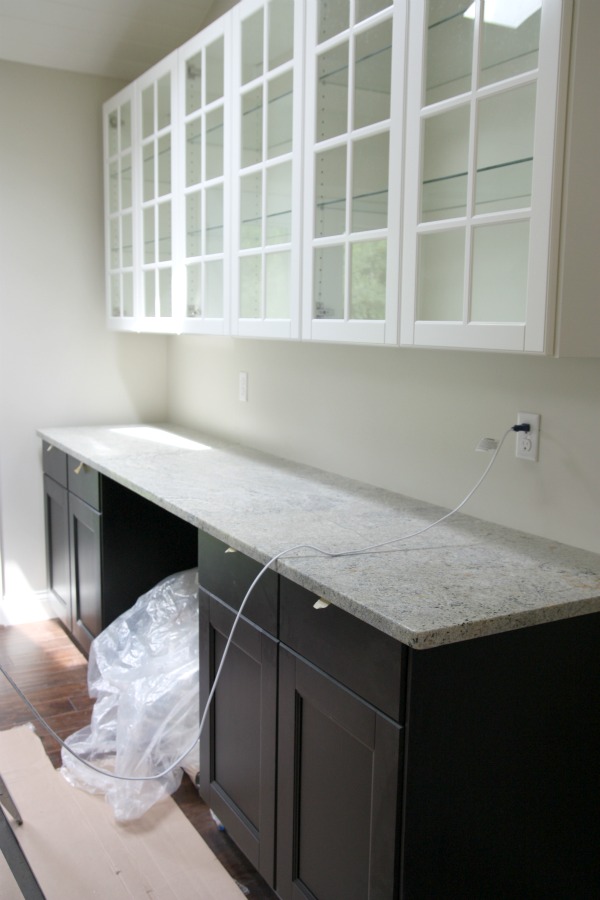
Someday I’ll be blogging from the very spot where that huge bag of garbage is sitting. The installers left strips of masking tape on the drawers so we can open them. With the granite’s 1″ overhang and without hardware yet, the drawers are difficult to open. Of note: HH started installing the cabinet hardware! We’re doing something a little different. More on that in another post.
Wanna see what the granite looks like alongside the walnut? The bigger picture?, if you will.
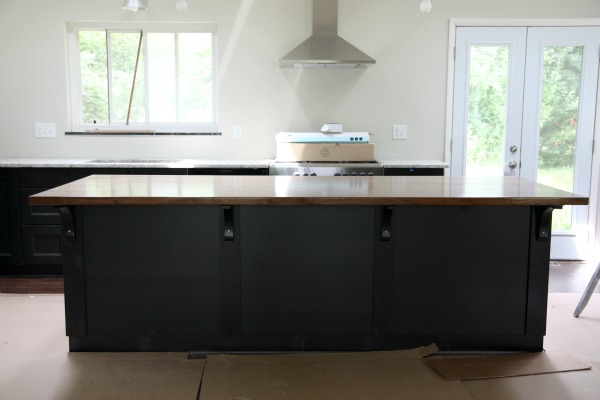
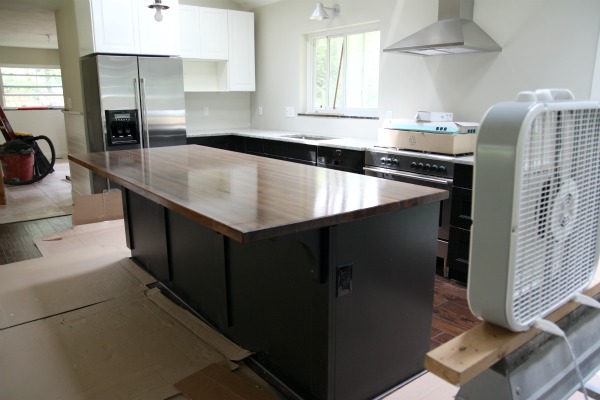
I love the mix of the rich, warm walnut with the light stone!!!
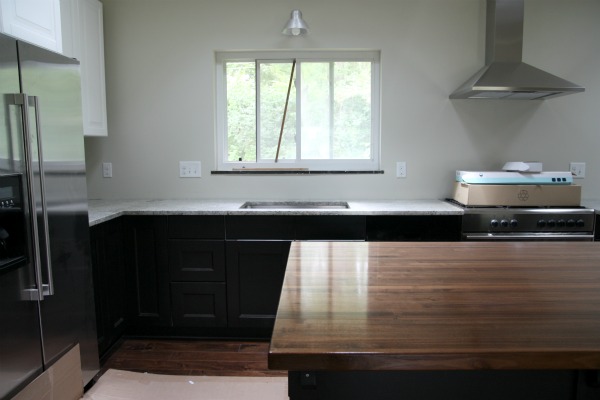
And to think this is what we started out with…

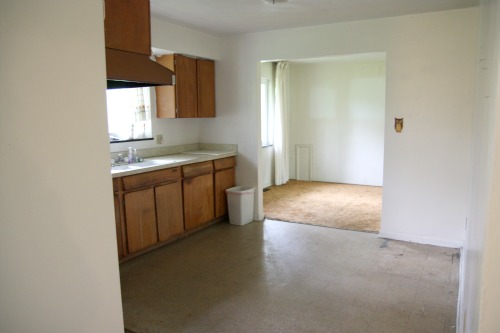

Aren’t before and afters so fun! HH and I think it’s pretty cool to see our original IKEA design come to life.
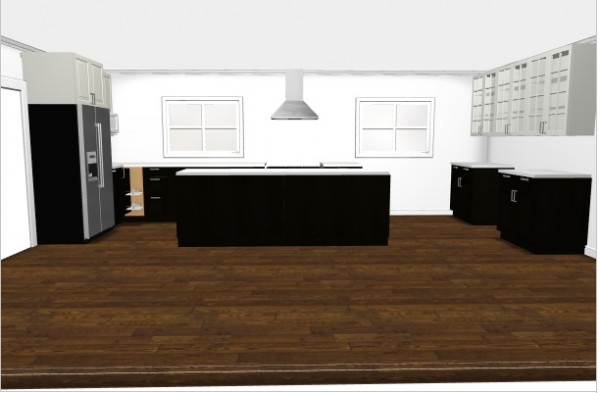
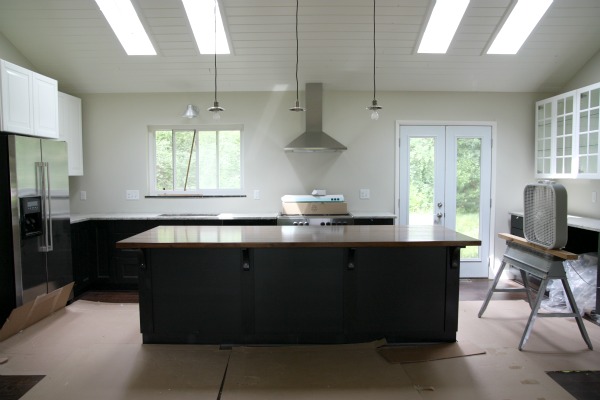
There are some differences: the window on the right went to doors, the ceiling got vaulted and skylights were added. Still, it’s pretty cool to see how similar our real kitchen is to the IKEA mock up. Fun stuff, people!
We’re gearing up for a whirlwind weekend of cleaning, organizing…and more cleaning…for the big move next week. No holiday picnics for us!
Have a good one!
FYI – Check to see who won this week’s Noah and Lilah giveaway!
images: Dana Miller for House*Tweaking


DIY, housekeeping