I’ve been meaning to paint the mudroom doors black since the day we moved in over three years ago. I finally got around to it. Why do I put off little things like this for so long??!!

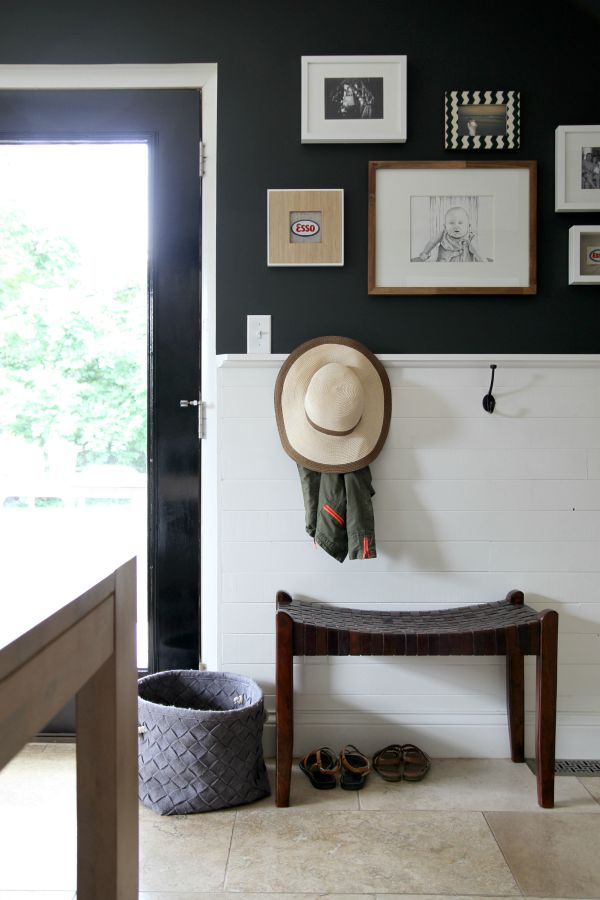
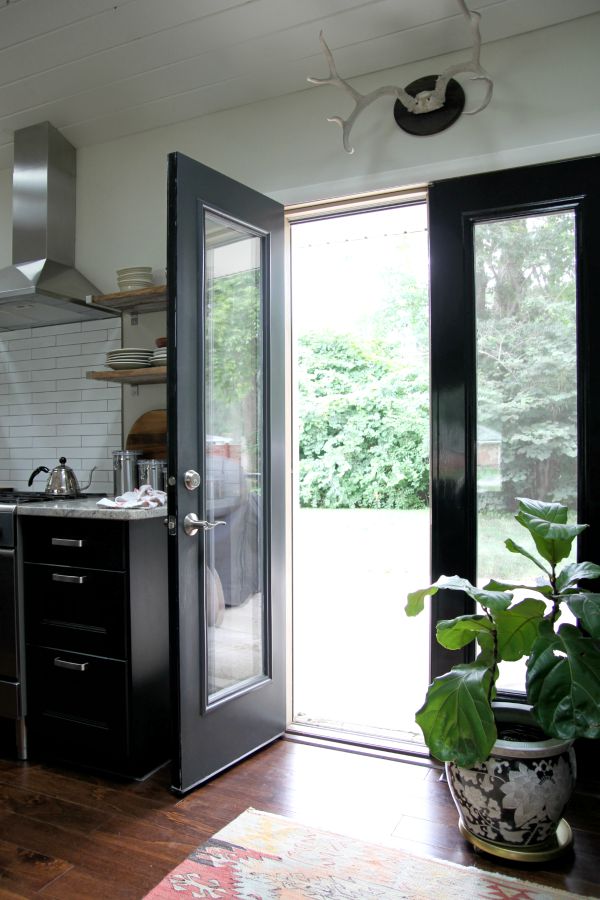
During renovation we had pre-primed french doors installed to replace original sliders out to the backyard. This is our main entrance / exit in real life. It’s where we put on and take off shoes, bring in groceries and mail, hang up jackets and unload backpacks and lunch boxes. Needless to say, the white was never white. It showed every dirty fingerprint and was impossible to keep clean.
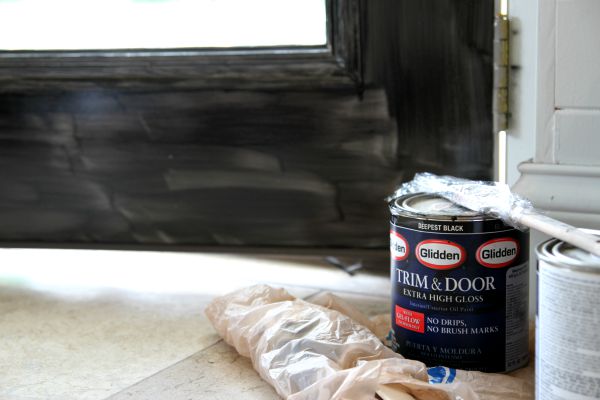
I used Glidden’s trim & door paint in deepest black. It’s the same paint I used on the french doors in the kitchen. (Which begs the question, why didn’t I paint the mudroom doors at the same time?) It was leftover which was nice because it’s a little pricey. The oil “paint” is more like a gel. It has the consistency of finger paint but, please, don’t apply it with your fingers ;) You don’t stir it and it has a strong odor. Cure time is longer, too. It took three coats to cover the white. Keeping the kids and kitty at bay was probably the hardest part.
The black hides fingerprints and the extra high gloss finish is super easy to wipe down. I love that this paint is dramatic AND practical.
It irks me that the doors in the mudroom are recessed while the ones in the kitchen are flush with trim surrounding them. This stems from the fact the mudroom doors were once sliders and the kitchen doors were once a window. I don’t really prefer one design over the other; I just wish they were the same for consistency’s sake. It’s one of those minor details we overlooked during renovation. Ah, live and learn. Catch you next time french doors.
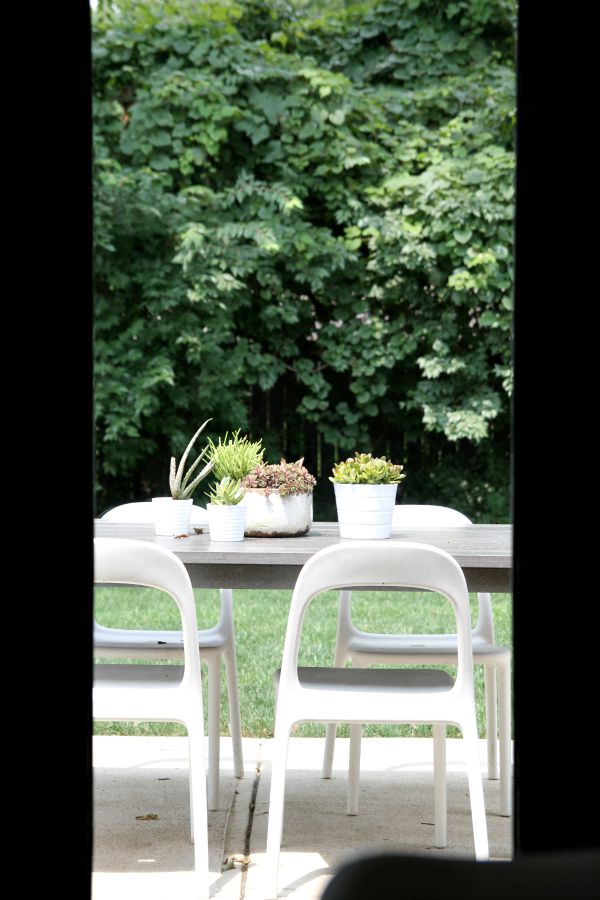
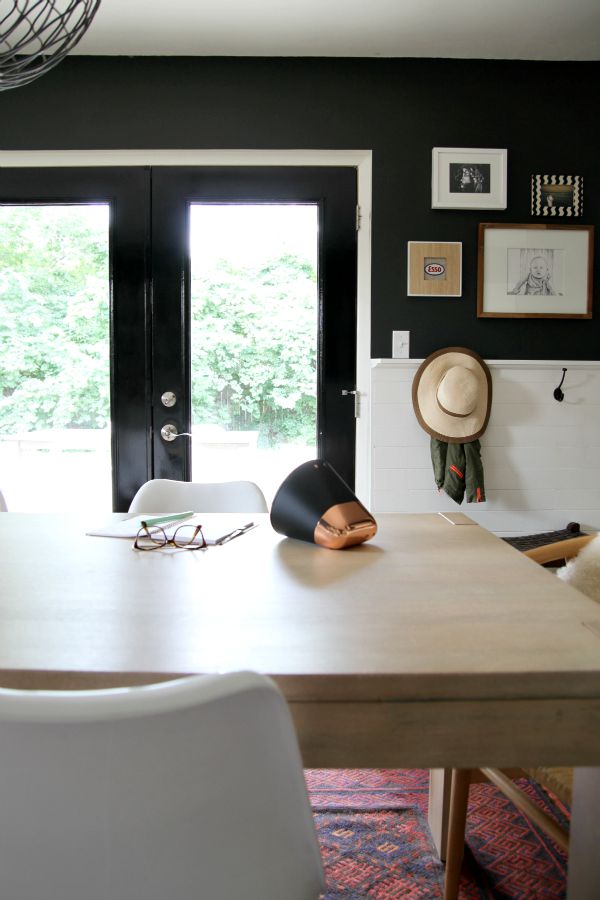
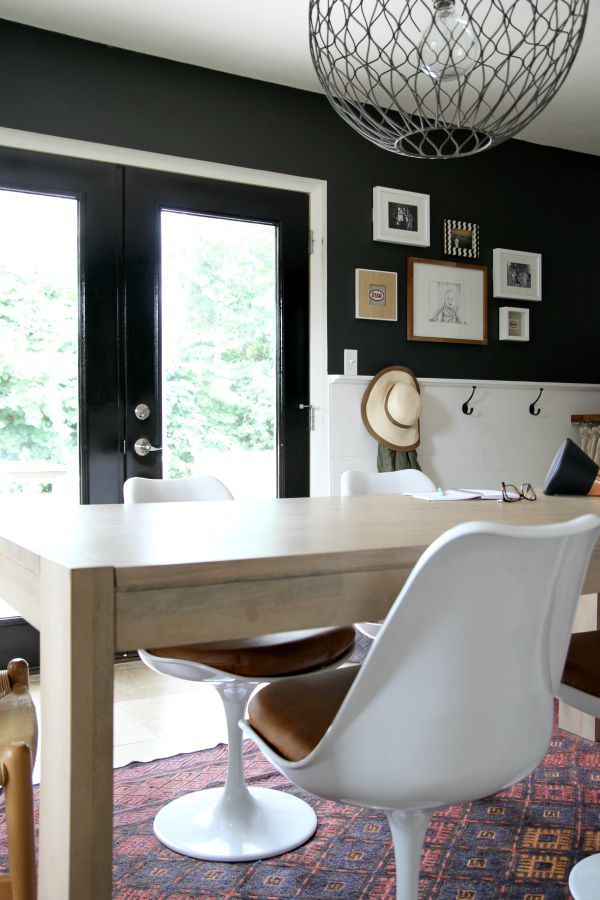
The way the newly painted doors frame the view out back is icing on the cake.
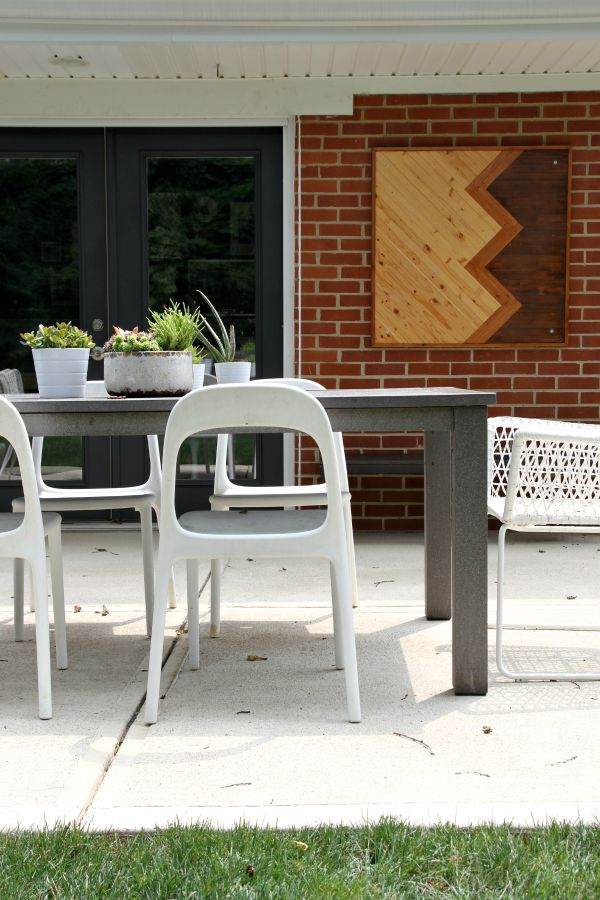
While I was at it, I went ahead and touched up the paint on the exterior side of the doors, too. (It’s evening hush by Behr in a satin finish, and it matches the front door.) It was nicked up from keys and such, and it really stood out to me once the interior sides were freshly painted.
Btw, the DIY outdoor art still looks great two years later!
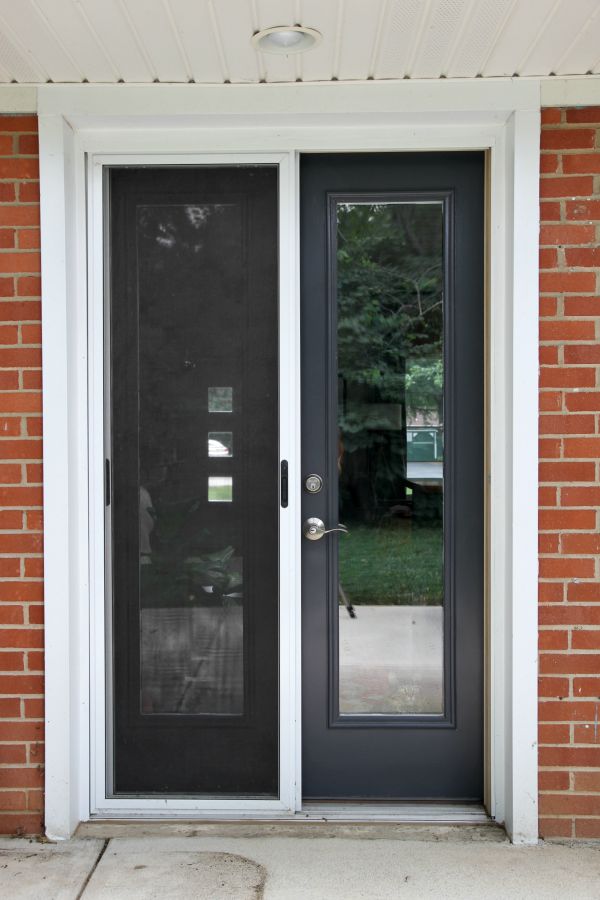
My painting streak didn’t stop there. I painted the exterior side of the french doors off the kitchen as well. (Again, it’s evening hush by Behr.) They’re Cheetah’s doors.
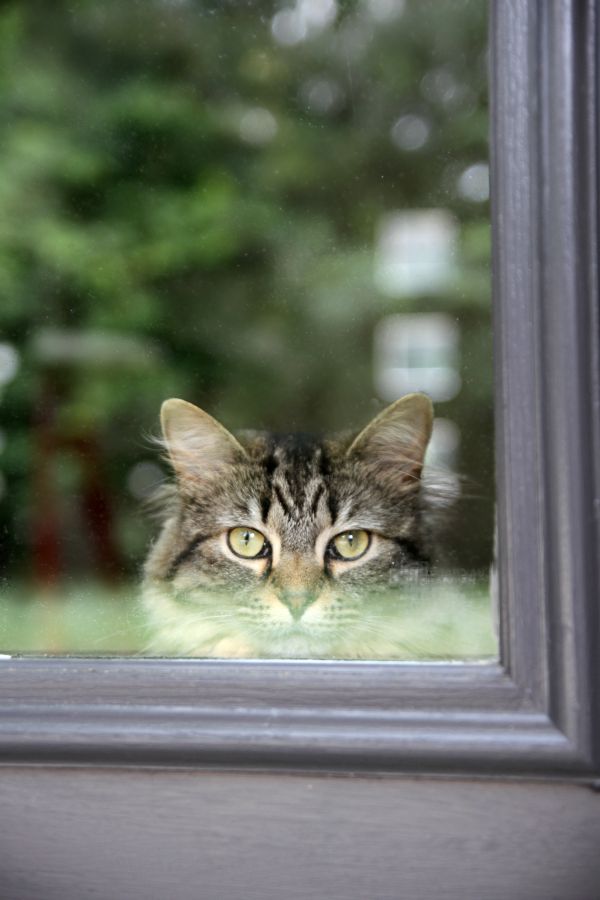
Every morning she meows at the doors until we open one so she can closely watch the birds, rabbits, neighborhood cats and deer frolicking in our backyard. As you can see in the photo two images up, we keep sliding screens on the doors so Cheetah can’t escape. (We have screens for the mudroom doors, too, but they’re a little cumbersome to open and close numerous times per day so we don’t use them all that much.)
I sorta fret over the doors being painted two different colors, inside and out. But it really isn’t a big deal. I think it helps that they’re both dark colors.
It feels good to finally cross all those painted doors off the list. What tedious projects are you putting off / tackling these days?
images: Dana Miller for House*Tweaking
Remember when we were living with no interior doors? I do. It wasn’t my favorite time. It’s been about a year since HH hung new interior doors. {We were quoted $2,100 to have the interior doors hung but HH read a bunch of tutorials and DIY’d the install himself over a few days saving us a bunch of money.} Our doors are the berkley style, part of the Masonite West End series. We were able to order them for $85/each through the same company we dealt with for our baseboards. You can read more about why we chose the doors here. We’ve been living with them for a year now and LOVE them.
Yesterday, a rare day when all three kids were out of the house, I decided it was the perfect time to finally paint those doors. Uh, yeah, in my world it takes me a year to get around to painting doors. In total, there are seven of these interior doors {2 linen closets, 2 bathrooms, 3 bedrooms} but I painted the door to our only functioning bathroom right before the The Tile Shop photo shoot and the other bathroom door isn’t hung yet to allow unobstructed access to the room whenever we get around to tackling that back-burnered project. So of the seven doors, I painted five yesterday. And it took me forever. Like, all day. But it was actually pretty relaxing and therapeutic. Maybe that’s because the kids were missing? And I had NPR streaming on the laptop.
I used paint leftover from painting the fireplace. It’s Benjamin Moore white dove mixed in Clark + Kensington primer + paint, semi-gloss.
I painted the doors on their hinges. I used a 1 ½” angled brush to paint the inset detailing & outer edges and to cut in around the hinges and doorknobs. I used a 6″ foam roller on the rest for a nice smooth finish. Each door required two coats of the primer + paint.
The photos don’t do my paint job justice. The pre-primed doors had a flat finish and there were grimy black fingerprints and dirty smudges all over them. The doors look so fresh now and should be easy to wipe down from here on out.
FYI – It’s really gloomy here today so artificial lighting was a must in these after shots.
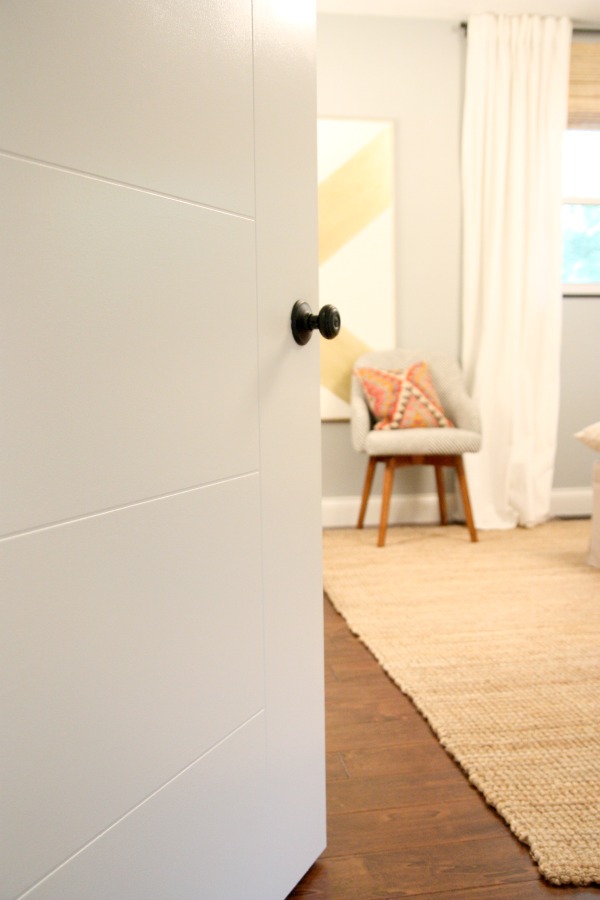
The subtle inset detailing on the doors is perfect for our small, door-ridden hallway. We feared that any door with more prominent detailing might make our teeny hall feel busy and not mesh with our home’s midcentury roots. Everyone that comes over comments on the doors. They’re simple and modern, a design you don’t see everyday.
We went with matte black hinges and doorknobs for a little contrast. I’m so glad we did! They are little surprises against all the white.

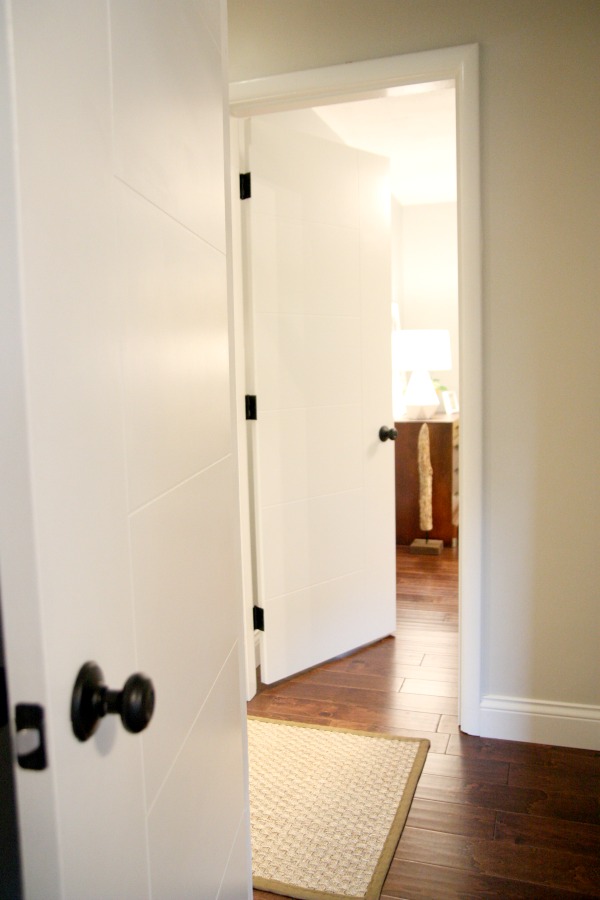
I’ve always been a sucker for room-to-room shots and the newly painted doors have only strengthened my weakness. Does that even make sense?
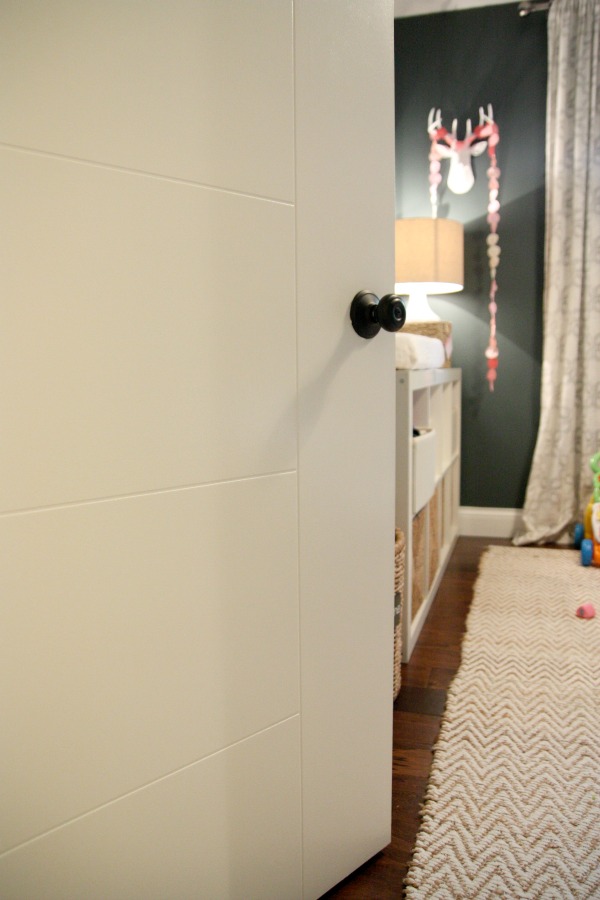
I’m also giddy about experimenting with door-not-all-the-way-open shots. Yes, these are the things I find exciting.
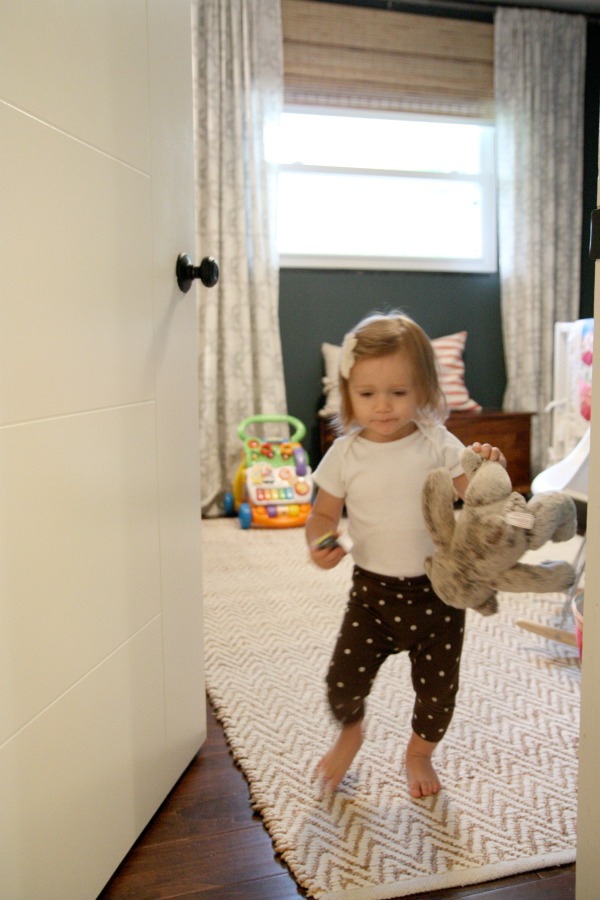
Also, this post could have been titled “The One Where Mabrey Does a Fair Share of Photobombing.”
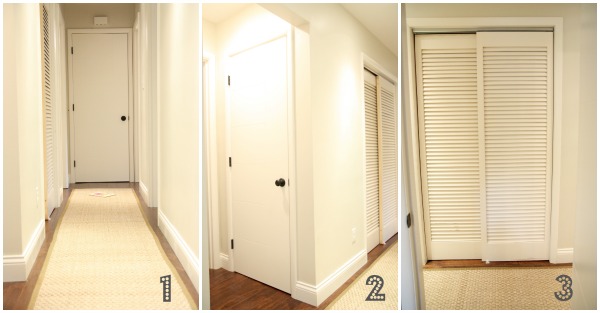
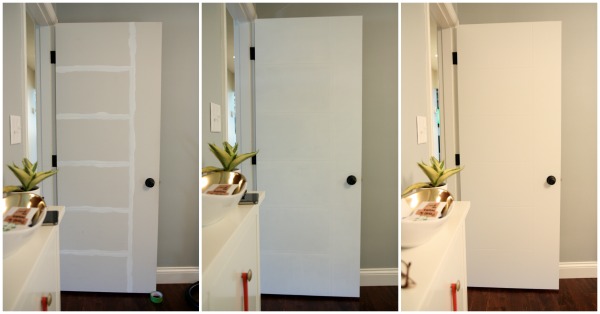
I thought this trio of pictures might help illustrate some not-so-interesting points.
1 – Looking down the hall from the great room. The door at the end is a linen closet. A second linen closet, the unfinished kid/guest bathroom, the utility closet and the master bedroom are on the left – in that order. Mabrey’s room and the boys’ shared bedroom are on the right – in that order. There is a lone book on the floor at the end of the hall courtesy of Mabrey. It’s an original copy of Cloudy with a Chance of Meatballs.
2 – Turning to the left and looking into the hall from the great room. There’s a very short hall to the kid/guest bath. The door you see is the second linen closet. Down the hall, you can see the louvered doors to the utility closet.
3 – Looking out into the hall from Mabrey’s room. HH found the louvered doors on the side of the road on his way home from having custom louvered doors priced out at several home improvement stores. He was returning home empty-handed {the estimates were, quote, “ridiculous”}, brainstorming less expensive options for the utility closet when he spotted these on the side of the road in our neighborhood. Most of the houses in our ‘hood are similar to ours so HH figured the size was close enough and the price certainly was right. He only had to cut them down a little to install them onto the new track. The louvers allow air to circulate {a necessity when heat-emitting machines are behind ’em} but keep the ugly mechanics out of sight. I haven’t painted these doors yet. They’re next on my list.

This is the master bathroom door I painted months ago. Now the rest of the doors match.
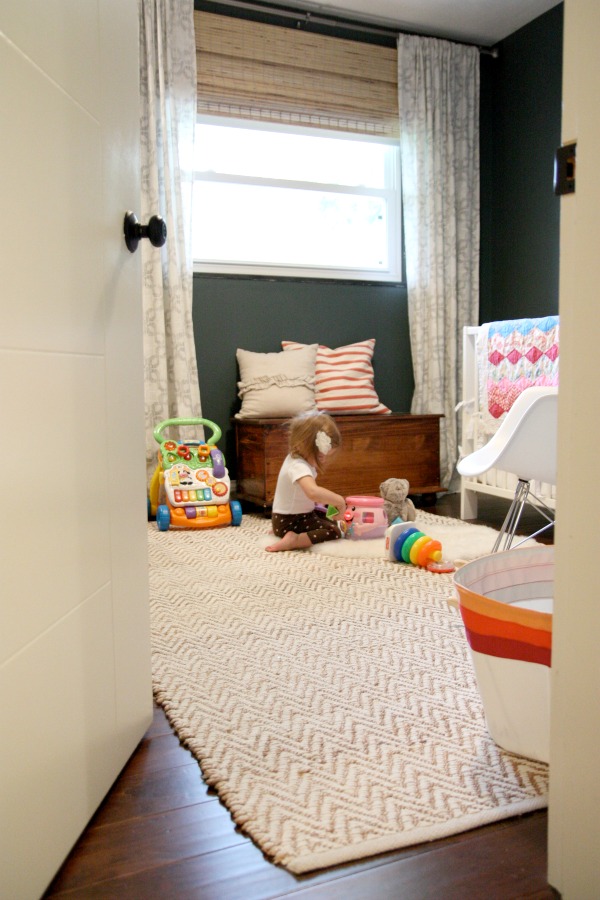
And one more half-open door shot because you couldn’t possibly be bored with these yet.
images: Dana Miller for House*Tweaking


budget decor, DIY, renovation